Many years ago, I had the option of switching from desks to tables in my first grade classroom...and I JUMPED at the chance! (Now when I say many years ago...I LITERALLY mean MANY YEARS AGO....we are talking 20 or more! (Feel free to comment on how well I look for my age...you never know when a random gift card will be thrown into the mix for best comment from a reader...:) just kidding!) But I really did jump at the chance, and I will tell you why...
I HATED DESKS!
I hated that they NEVER stayed in one place. I hated that the kids ALWAYS had the lids up and their heads inside of there...as if looking for some long lost treasure...that didn't actually exist! I hated that things went into those desks...NEVER TO BE SEEN AGAIN...ALA THE BLACK HOLE! And I absolutely hated when I would have to GULP...stick my hand inside of one of those "disaster zones" to help a student look for something important because LORD ONLY KNOWS WHAT SLIMY, WET, STICKY SUBSTANCE then was stuck to the side of my hand.
GasP sHiVeR aCcKk BLeeCckK
So we started using tables and I never turned back. The main questions I get when I tell people I LOVE tables instead of desks are these:
1. How do you keep the kids from talking?
and
2. What do you do with all their stuff?
Well...the answer to question #1 is....
HahaHahahaHahaHaHahaHa
that's funny...I'm a teacher..not a magician

But the answer to question #2 I can give you in 5 easy steps!
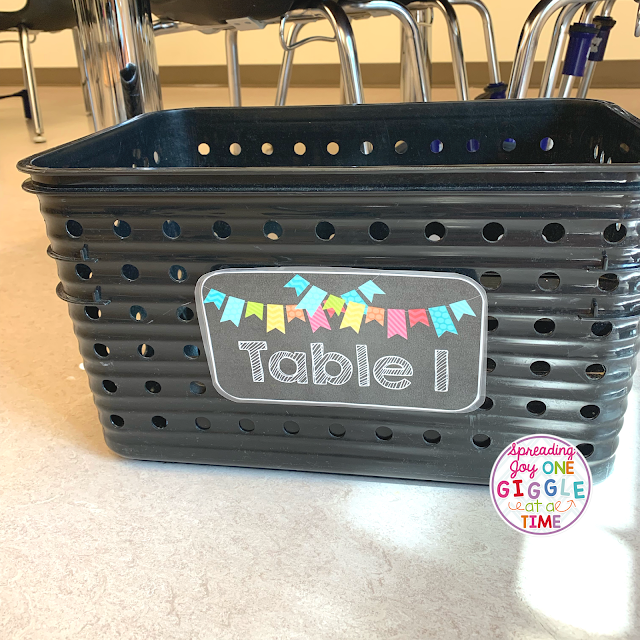
Table Crates
Each table is assigned it's own table crate. You can get these crates from lots of different places in lots of different colors, especially in the summer when college students are getting their dorm rooms set up. I will just caution you that in this case...CHEAPER IS NOT NECESSARILY BETTER. I realize you may not have a lot of money to spend on things like crates and bins, however, having done this for so many years I can tell you for certain...when you go with the cheaper version of storage items that the students are going to be using daily...they WILL NOT HOLD UP WELL, and you WILL IN FACT be buying new ones again next year. So, paying double the first time just may save you time and money in the end. The crates I ended up settling on came from Big Lots.
The crates are where my students keep their take home folders, their journals, math books, science books, and any other items that we use repeatedly throughout the day/week. Each crate contains an expandable file.
This is to help the students further organize their materials. So, all of the journals and/or morning work booklets are kept together in the expandable file where they can easily be found and easily accessed when needed.
This is to help the students further organize their materials. So, all of the journals and/or morning work booklets are kept together in the expandable file where they can easily be found and easily accessed when needed.
Take Home Folders
I provide each student with a sturdy folder at the beginning of the school year which will be their take home folder. *This is something that does not have to be provided by the teacher, but could instead be asked for on a supply list sent to parents at the beginning of the year. I label the pockets of the folder to help keep the lines of communication open with families and students. Then, when I pass back papers or when we pack up our things at the end of each day, we take time to talk about which side of the folder each paper belongs on...Leave At Home, or Bring Right Back **Teacher Hack...Papers to be LEFT at home go on the left side of the folder, and papers to bring RIGHT back go on the right side of the folder...a-ha! A teachable moment! #youarewelcome
Table Baskets
Each table has it's own table basket. I have tried many different shapes and sizes of baskets over the years, but the ones I have settled on, that have held up the longest have been these caddies from WalMart. Each section is labeled, to help the students stay organized. This is important, because little kids are not naturally going to organize and compartmentalize their supplies on their own...they just aren't. So expecting them to, and then getting frustrated when they don't really isn't fair....is it?
In the baskets I use in my classroom there are three compartments, so they are organized simply:
pencils
I provide each student with TWO sharpened primary sized pencils labeled with their
name. **Teacher Hack- Print out several sets of labels with students names on them. These can be used for SO MANY different things throughout the school year.
crayons
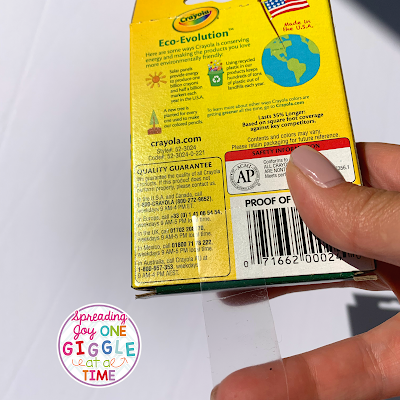
Each student has a 24 pack of crayons. I always label these with their name and tape the bottom of the box shut to avoid "crayon catastrophes" as the weeks go on.
learning tools
Each basket has two sets of learning tools so that they can be shared by
the students sitting side by side. *More information about how and when we use learning tools in our classroom will be coming in a future blog post!
You can click HERE to check out the learning tools in my TPT store.
You can click HERE to check out the learning tools in my TPT store.
***If you would like this set of table signs for your classroom...which includes table crate signs, table basket signs, and matching signs to hang above the tables....
you can download it HERE
Community Supplies
All other supplies that the students need are kept together in a cart with multiple drawers that I purchased at Michaels. The students can access the supplies in this cart whenever they need them (glue sticks, scissors, extra crayons, markers) I kept the knobs off and just added these labels to the fronts of the drawers.
Clear Expectations
But in all honesty, the only way to get this to go smoothly...to work like a charm...to make you sit back proudly and say "wow"...is to give your students clear expectations. That's right...no matter how well you think it all through and no matter how beautiful you make it look, if you do not clue those kids in on what you expect, clue them in on EXACTLY what it is you want them to do with those supplies and how you want them to do it....
it will still look like a DISASTER ZONE!
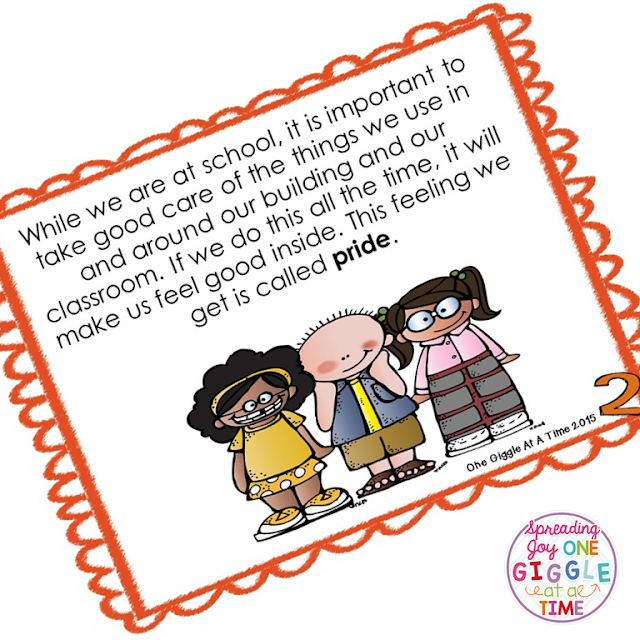
So show them how to use the crates. Model how to use the table baskets. Act out how to put papers in the take home folders. Read specific social stories to help explain the expectations you have...In this can I use a Social Story all about Respecting Property.
Click HERE to learn more about this Social Story.
And do these things over, and over and over again.
It may take a little extra time, and it may seem a little redundant...
Click HERE to learn more about this Social Story.
And do these things over, and over and over again.
It may take a little extra time, and it may seem a little redundant...
but in the end
you will be so glad you did!
Are you ready to get your classroom supplies organized and your room running efficiently? Your students are so lucky to have a teacher that takes the extra time to help them understand the importance of taking care of their things. If you have any questions I would be glad to answer them, and I look forward to hearing from you about your room set up...tables? desks? Have you tried any of these things already or maybe have some great ideas of your own to share.


